How to Publish an Illustrated Book on Amazon KDP
There’s a bambazillion posts about how to publish your thrilling novel, but diddly about illustrated art books. The paper kind.
Note: This article was written in 2020, and is not up to date with changes KDP may have made since then.
Self-publishing through Amazon is crazy accessible. Yes. It’s a ravenous beast, and it’s taking over the world. That same world is hard as concrete to break into, when you’re a lil ol someone wanting to make a lil ol book. If you want to vet my advice before we get engaged by judging my own book, you can see it here.

You’re probably busy as a belt on a plumber, and don’t have time to woo a publishing company. Right?! Ok, let’s boogie:
You must have an image editing program, or your book will look like a bad pizza flyer. Photoshop, etc. If you’re frugal as breadcrumbs like me, use Glimpse, which is the far more appealingly named version of Gimp. If that sounds overwhelming and you have no opposable thumbs, watch Davies Media tutorials, because that man is efficient as a quick lube and won’t waste a second of your time.
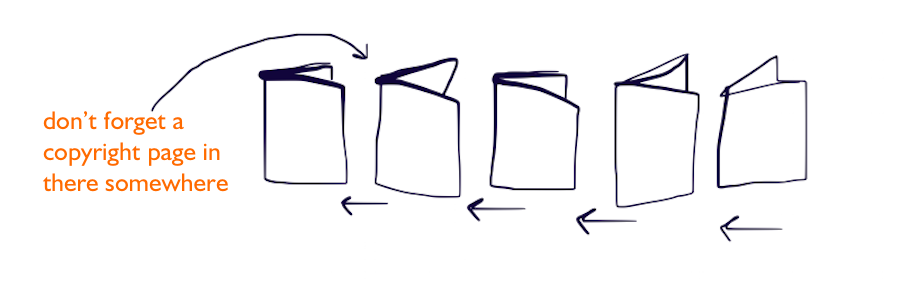
Make a paper mockup. Amazon has gadgetry set up to format text books, but that’s not going to help you. You’re basically making the entire turkey dinner and then throwing it in their oven to bake. Each page is a file. Each page will be a pdf that gets lumped into a multi-page pdf (that you will then throw in their oven). So making a paper mockup keeps you from getting lost in the swamp of computer slop.
Make an account on Amazon KDP. It’s not complex, and there’s a couple videos that explain the process. Really, though, it’s irrelevant until your manuscript is actually a manuscript.
A few things:
kdp only prints softcover books (update: not true anymore!). If you have a hardon for hardcover, use something like Lulu or IngramSpark or BookBaby.
You can order author proofs before publishing.
When your baby is official, you can order author copies at cost and sell them yourself, or let Amazon print copies on demand as they are ordered.
Your files must be 300dpi. That means dots per inch. That means there will be enough detail to make that cadillac look high class.

Formatting is a bitch. I tried to think of a nicer phrasing but could not. Decide what the dimensions of your book will be before you give your tender soul over to the design process. Trying to nip and tuck the bleed after the fact will make you wish you’d pursued sand-dune raking for a passion instead. What’s a bleed? That means the ink needs to spill over the page, past the edges, so that when the manufacturer slices the pages it looks professional. You only need it if your images go to the edge of the page.
Guidelines for margins are listed, but I found them confusing. My book is 8” x 10”. Each page was a separate file, sized 8.25” x 10.25”. Within that space, the 0.375” of the edge needed to be not precious, meaning if it got chopped off no crying. Yeah, probably most of that 0.375'“ will show, but your text and page numbers aren’t allowed there. Figure it out first, I beg you.
Your cover will be one thing. Your innards will be another. They have different requirements.
From here on, the design is your special mud pie.
Most folks have all of their illustration files - whether physical or digital - which they collage alongside font-based text. For my book, I scanned all of my paper illustrations as well as my own handwriting (at 300dpi!), and digitized them into individual files which I then collaged for each page. Digitized means I slapped all those jpegs into Gimp, adjusted the levels so the whites and blacks looked nice and sharp like a clean penguin, and removed the background clutter of blotchy white paper. Having the images and text on transparent backgrounds allows you to see how tidy or crappy the edges look, and allows them to overlap when you’re finessing a composition.
After all of your individual page/files are looking gorgeous, it’s time to export them as pdf’s.

On a Mac, I triple-checked the dimensions and dpi, flattened, and then exported each page/file as a pdf. It’s helpful to name them with numbers at the beginning so that they stack in the same order as they would progress in a book. Now find where all those bloody pdf’s went to. Make sure they are in order (double check your paper mockup)! Highlight the entiiiire stack, right click, and open in Preview.
Now, pretend you’re going to print them (you’re not), by clicking “Print'“ to open the dialogue box. Under “Paper Size” choose “Manage Custom Sizes” in the drop down menu. Add a new size in the dimensions of your book (i.e. 8.25x10.25) and make golly dang sure that all the margins are set to 0. Zero! All of them! Click “OK”. Now, below that nice new paper size you made, select “Scale to Fit” and “Fill Entire Paper”. Check the orientation by perusing the preview and make sure nothing is topsy turvy. Lastly, in the lower left corner click the drop down menu and choose “Save as PDF”. This makes it into one big fat juicy PDF with all of your pages in order.
The reason this is SO important, is that it will provide you with a file that has NO white margins. Your computer desperately wants to add a white margin to everything, and will sneak them in there in the conversion process. But Amazon KDP will reject your file like an inexhaustible boomerang until you banish those white gaps.
For your cover,
Front, back and spine are ONE solid image file. It will be a bit of a crap shoot depending on your spine width and if your image bleeds to the edge. One thing that is mighty important to note, is that a bar code will go on the lower righthand corner, so anticipate that tramp stamp taking up space. It also needs that 0.375 margin from the edge, so that the guillotine doesn’t cut it off in manufacturing. They will slap the barcode on there for you, so you won’t really see it until that sizzling author proof hits your hands.

Everything else is straightforward and greased by KDP. You create an account. Upload your files. Launch the previewer. Wait with tingly toes. There are heaps of info on those parts on the internet. It is my sincerest hope that this helped you evade the month of margin-induced migraines that I encountered.
If you feel inspired and relieved, yay! If you’re having a baby, or need a gift for someone who is, Who Invited You? is available here
Lub, Khara
